
 |
| Before the adjustments |
 |
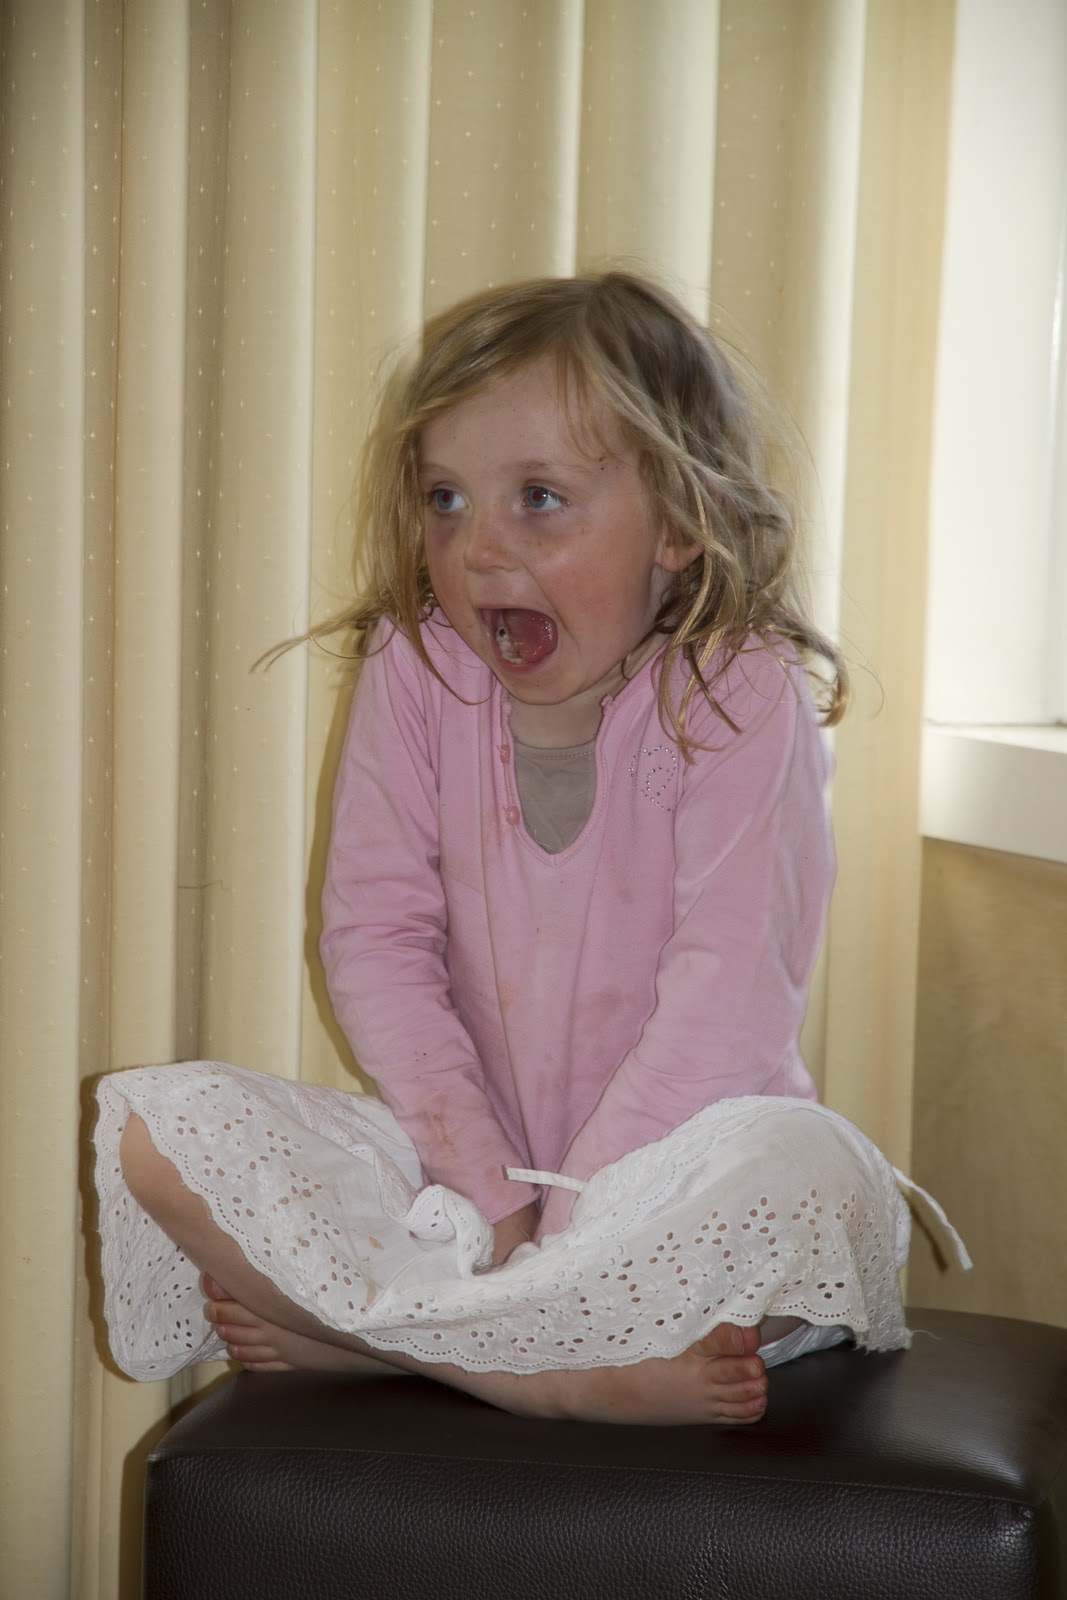
| After the adjustment |
Photoshop has so many ways to do things and so as I learn new methods, I am hoping to share them here in
the blog, so share the trade secrets in some cases and build a manual for me. I took theses at a BBQ on Sunday, kids just are so crazy and have the best facial expressions.......
I used this shot as a lesson to myself in Photoshopping, the main focus of the image was the look on the childs face so I wanted to keep that in a priority spot (top third of the pic)...using rule of thirds and got rid of a lot of the curtain as the curtain was bland and not really significant to the shot.
Desaturating an image an easy way. I have used a RAW file for this but I simply opened up my image in
PS and added two layers, in Layer 1 I clicked on the Channel Mixer adjustment layer and ticked the monochrome box and then upped the contrast a little to keep the eyes, the hair and facial features. Then on layer 2 I added a Gaussian Blur and a radius of aound 20 pixels and added a blend to this layer called Overlay and after any opacity changes I ended up with the left image. Finally I added a brown colored Vignette which made the subject stand out even more. It is recommended that with the Channel Mixer you slide the R G & B sliders and the total of the three is 100. So that means if you slide Red up to +20 and Green up to +60, then you slide Blue up to +20 and get a total of 100. Anything over or under 100 means that you are heading into an over or under exposed image.
The addition of the two layers is a very easy non-destructive way to adjust the original image
No comments:
Post a Comment